
In America, a cookie is described as a thin, sweet, usually small cake. By definition, a cookie can be any of a variety of hand-held, flour-based sweet cakes, either crisp or soft.
Each country has its own word for "cookie." What we know as cookies are called biscuits in England and Australia, in Spain they're galletas, Germans call them keks or Plätzchen for Christmas cookies, and in Italy there are several names to identify various forms of cookies including amaretti and biscotti, and so on. The name cookie is derived from the Dutch word koekje, meaning "small or little cake." Biscuit comes from the Latin word bis coctum, which means, “twice baked.”
According to culinary historians, the first historic record of cookies was their use as test cakes. A small amount of cake batter was baked to test the oven temperature. (SOURCE: http://whatscookingamerica.net/History/CookieHistory.htm)
However you define them, the bar cookies and brownies I want to share today are perfect for snacking or celebrating. These mouth-watering treats serve as a great way to sweeten up a chilly day or night. Leave these chewy bar cookies and brownies unattended and they'll disappear faster than you can say, "May I please have seconds?"
After purchasing an extra large bag of pitted dates this past week, I began a quest to find a delicious date bar recipe. After sorting through a half-dozen or more recipes for these treats, I finally settled on a combination of three of them. Each had components I wanted to incorporate into the cookie, but none were exactly what I had envisioned as the mouth-watering, chewy cookie I wanted to taste. So what I'm sharing with you today is a more-or-less "original" (since I added a "secret" ingredient not in any of the recipes) recipe. I hope you enJOY it as much as we have.
Also, a friend of mine who moved to Texas a few years ago (we forgave her for that), visited us on her way to Missouri. One of the desserts I served that day was Rocky Road Brownies. My friend emailed recently and asked for the recipe, and I promised to put it on the blog. That was before life got REALLY BUSY, ... so I apologize, Tina, for taking so long to follow through with my promise. I'm trying to catch up on my "to-do" list this week! Check out the recipe below (after the Delicious Date Bars).
Let's get started!
DELICIOUS DATE BARS
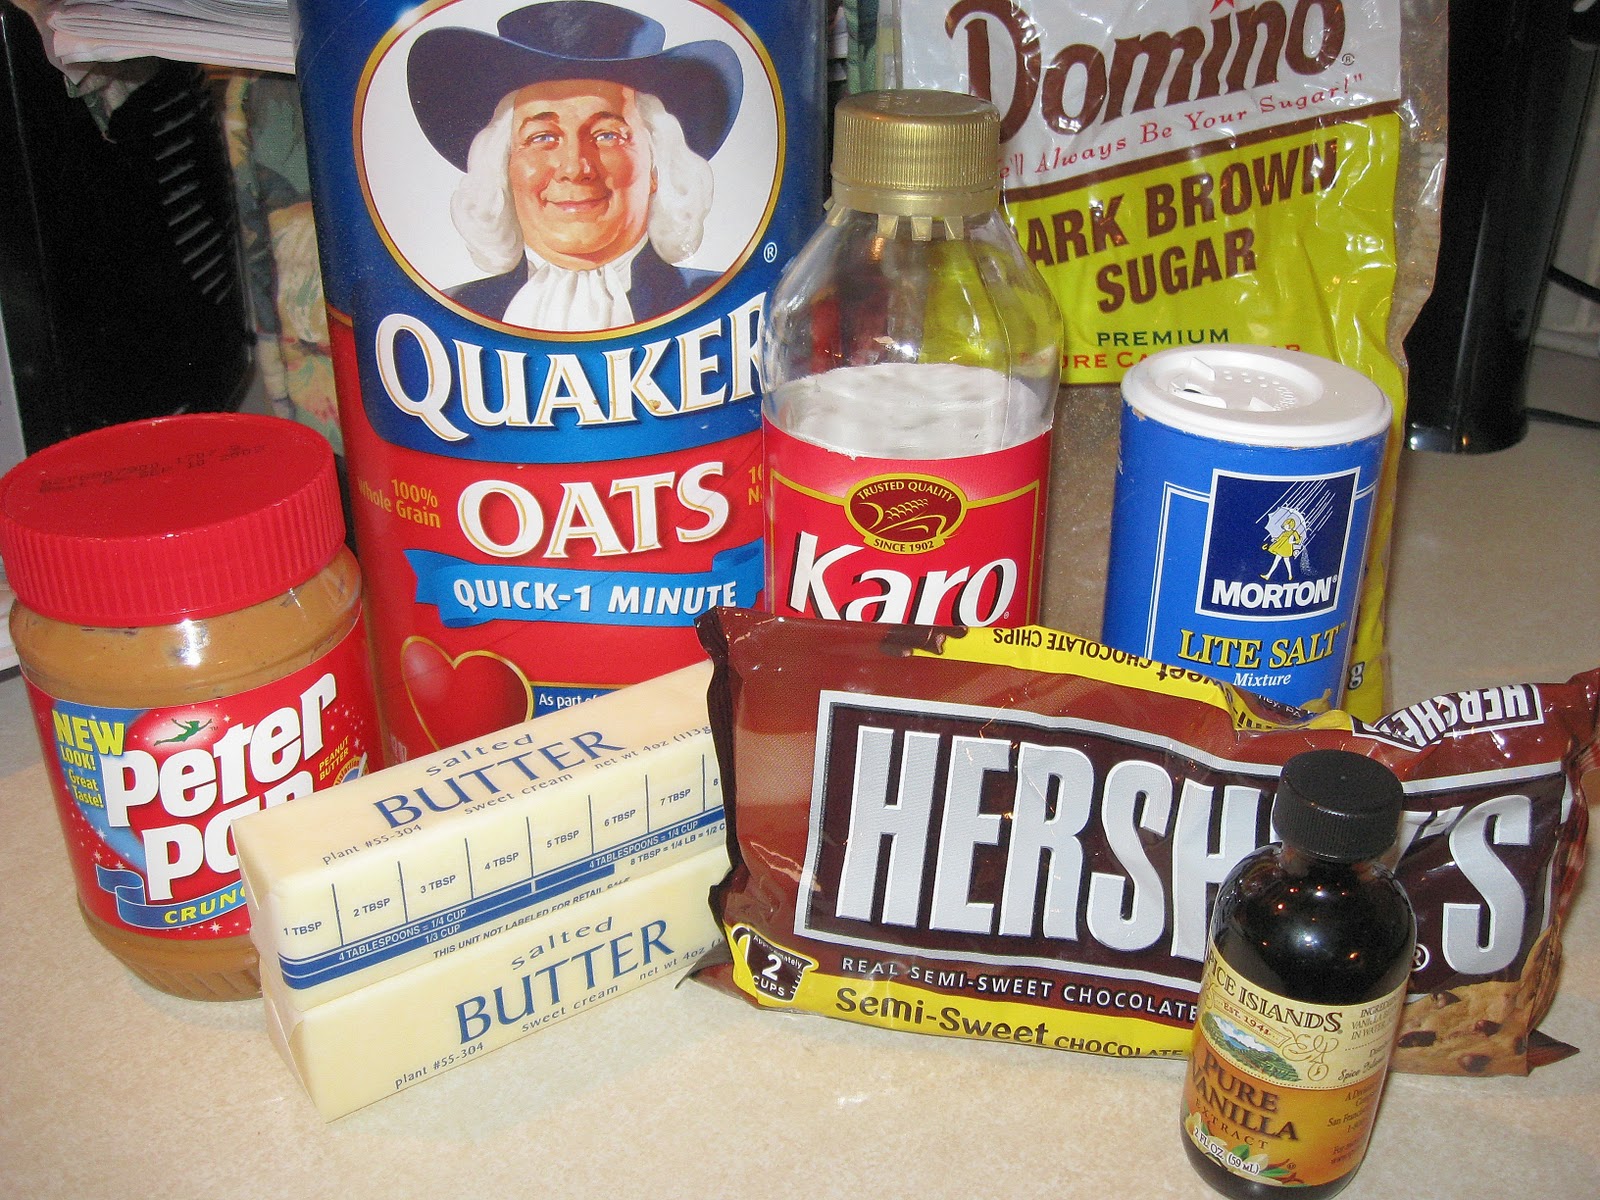
Be sure you have all the ingredients before you start. Don't forget to let your butter come to room temperature before you use it. If you want to, you can go ahead and cut it into cubes while it's cold, then just set aside to soften.
Here's what you'll need:

Place pitted dates, water, and molasses (the SECRET ingredient!) in a medium saucepan. Bring to a simmer and cook until soft, stirring occasionally, about 10 minutes. Stir in vanilla (After the dates cooked, I used a potato masher to blend them into the liquid. This helps cool and thicken puree. It's okay if a few lumps and bumps are still in the mixture, so don't worry about getting it really smooth.) Cool to room temperature. (I was in a hurry to make these---couldn't wait to try them--, so I placed my hot saucepan in a sink of ice water to hasten cooling.)

Preheat oven to 350°F. Butter an 8x11.5x2-inch (or 8x8-inch) baking pan. (I used the 8x11.5x2-inch Pyrex baking dish you see in the photo. It worked great.)

Combine flour, sugar, oats, cinnamon, baking soda, and salt in large bowl; stir to blend.

Add diced butter. Using a pastry cutter or fork, blend until moist clumps form.

Use a spatula (or your fingers) to press half of oat mixture evenly over bottom of prepared pan.

Spread cooled date mixture over the crust.

You can see that it is fairly thick (after cooling) and almost a puree, but it still has a few lumps of dates.

Sprinkle crumbles of remaining oat mixture over the date filling;

press gently to adhere to the filling. Bake until brown at edges and golden brown and set in center, about 40 minutes. Cool completely in pan. Once the pan has cooled, cover it with plastic wrap, and place in the refrigerator at least one hour or until firm enough to cut bars easily. Cut into bars and serve.


The date is a delicious fruit brimming with much-needed minerals
and energy to help you stay fit and healthy. Wonderfully delicious, dates are
one of the most popular fruits packed with an impressive list of essential
nutrients, vitamins, and minerals that are required for normal growth,
development and overall well-being. For more about this great little fruit,
check out http://www.nutrition-and-you.com/dates.html. Don't forget to print or save and file a copy of the recipe below.


(Box directions include:
1/4 cup water, 3/4 cup vegetable oil, and 2 eggs. I like to whisk my eggs just a little bit before I add them to the dry brownie mix.)
1/4 cup water, 3/4 cup vegetable oil, and 2 eggs. I like to whisk my eggs just a little bit before I add them to the dry brownie mix.)

Prepare brownie batter as directed on
box. Use a spatula to blend well; if in doubt, count about 50 strokes, just until well mixed. .

Stir in the mini-chocolate chips and fudge sauce. Spread evenly in pan.

If you don't keep the homemade Fudge Sauce on hand in your refrigerator, you're missing a treat! It helps make these brownies moist and fudgy! (And, makes vanilla ice cream and pound cake extra yummy!)

Spread evenly in pan and bake according to box directions for 13x9-inch pan. (I often use an 8x11.5x2-inch Pyrex baking dish to make these just a little thicker. If you use Pyrex, you may want to bake an extra 5 minutes, or so.)
(While baking, prepare Chocolate Frosting---recipe below.)
Immediately after removing brownies from oven, completely cover the top with miniature marshmallows
and, if desired, the peanuts (I usually leave these off---so my "road" isn't quite so "rocky"! :-)

Drizzle (DO NOT SPREAD) very warm chocolate frosting over the marshmallow/peanut layer (in the photo below, you will notice I left out the peanuts). If your icing cools too much before the brownies come out of the oven, simply warm it again, then drizzle it evenly -- leaving some of the white marshmallows showing through (again, DO NOT SPREAD THE ICING. You want it to sink down between the lumpy marshmallows). The icing will firm as it cools.

Cool completely, about 2 hours. Cut into 24 squares and serve. Store at room temperature.
I'm sorry I don't have a fresh photo of these all cut and pretty, but this batch (as I said earlier) went to a friend, and I hated to take it to her with a piece missing---which is what would have happened if I had cut these into squares!) So, just pretend the picture below came from this new batch of brownies:

What better time than Fall to make bar cookies and brownies for hungry kids to snack on after school. I hope you and your family will use these recipes to make some memories while filling hungry tummies! (Don't forget to print or copy and save the recipes below!)
Blessings to you and yours,
Patricia
DELICIOUS DATE BARS
INGREDIENTS
Date Filling:
1 1/2 cups water
2 1/2 cups chopped pitted dates
1/3 cup molasses (I like Grandma's Molasses)
1/2 teaspoon vanilla extract
Crust and Streusel Topping:
1 1/2 cups all purpose flour
1 cup (packed) dark brown sugar
1 cup old-fashioned oats
1 1/2 teaspoons ground cinnamon
1 teaspoon baking soda
1/2 teaspoon salt
3/4 cup (1 1/2 sticks) unsalted butter, diced, room temperature
DIRECTIONS
Place pitted dates, water, and molasses in a medium saucepan. Bring to a simmer and cook until soft, stirring occasionally, about 10 minutes. Stir in vanilla (After the dates cooked, I used a potato masher to blend them into the liquid. It's okay if a few lumps and bumps are still in the mixture, so don't worry about getting it really smooth.) Cool to room temperature. (I was in a hurry to make these, so I placed my hot saucepan in a sink of ice water to hasten cooling.)
Preheat oven to 350°F. Butter an 8x11.5x2-inch (or 8x8-inch) baking pan. (I used an 8x11.5x2-inch Pyrex baking dish. It worked great.)
Combine flour, sugar, oats, cinnamon, baking soda, and salt in large bowl; stir to blend. Add diced butter. Using a pastry cutter or fork, blend until moist clumps form. Use a spatula (or your fingers) to press half of oat mixture evenly over bottom of prepared pan. Spread cooled date mixture over the crust. Sprinkle crumbles of remaining oat mixture over the date filling; press gently to adhere to the filling. Bake until brown at edges and golden brown and set in center, about 40 minutes. Cool completely in pan.
Once the pan has cooled, cover it with
plastic wrap, and place in the refrigerator at least one hour or until firm enough
to cut bars easily. Cut into bars and serve. These will keep, covered, in
the refrigerator up to a week or at room temperature for four days. (I like mine at room temperature with a steaming hot cup of coffee!)
ROCKY ROAD BROWNIES
1 box (18.3 oz) Duncan Hines® Chewy Fudge Brownie Mix (13x9 Family Size) OR the equivalent size of Betty Crocker® Chewy Fudge Brownie Mix (13x9 size).
(1/4 cup water, 3/4 cup vegetable oil, and 2 eggs called for on brownie mix box)
1 cup NESTLÉ® TOLL HOUSE® Semi-Sweet Mini-morsels
3 Tablespoons homemade Fudge Sauce (Recipe for this is on page 162 of "A Pinch of This... A Smidgen of That" cookbook. Or, you can use commercial fudge topping: Hershey's Hot Fudge Topping is good. I keep a small bowl of the homemade Fudge Sauce stored in the refrigerator and use it to top pound cake and ice cream, or as a dipping sauce for fruits. Yummy goodness!)
2 cups (give or take a few) Kraft® Jet-puffed miniature marshmallows
3/4 cup chopped peanuts (Optional. Lots of peanut allergies these days, so I don't add these if I'm unsure who may be eating them.)
Chocolate Frosting (recipe below)
DIRECTIONS
Heat oven to 350°F (325°F for dark or nonstick pan). Grease bottom only of a 13x9-inch pan with shortening or cooking spray. (I like to use an 8x11.5x2-inch Pyrex baking dish.) Prepare brownie batter as directed on box. Use a spatula to blend well; if in doubt, count about 50 strokes, just until well mixed. Stir in the mini-chocolate chips and fudge sauce. Spread evenly in pan.
Bake brownies as directed on box for 13x9-inch pan. (While baking, prepare Chocolate Frosting---recipe below.)
Immediately after removing brownies from oven, completely cover the top with miniature marshmallows and, if desired, the peanuts (I usually leave these off---so my "road" isn't quite so "rocky"! :-) Drizzle very warm Chocolate frosting over the marshmallow/peanut layer. If your icing cools too much before the brownies come out of the oven, simply warm it again, then drizzle it evenly -- leaving some of the white marshmallows showing through. The icing will firm as it cools. Cool completely, about 2 hours. Cut into 24 squares and serve. Store at room temperature.
CHOCOLATE FROSTING
(You can find this on page 181 of "A Pinch of This... A Smidgen of That" cookbook.)
INGREDIENTS
1/2 c. butter
4 T. cocoa
3 T. milk
3 T. water (note: if you want your icing extra rich, omit the water and milk, and instead, use 4 or 5 T. of half-n-half or whipping cream)
3 1/2 c. confectioners' sugar
1/2 to 1 tsp. (depending on your preference) vanilla extract
DIRECTIONS
In a small sauce pan, bring butter, cocoa, water, and milk to a boil, stirring constantly. Remove from heat. While still hot, add confectioners' sugar and vanilla. Use a fork to blend out any lumps. Pour hot frosting over brownies. Allow to cool completely before cutting.